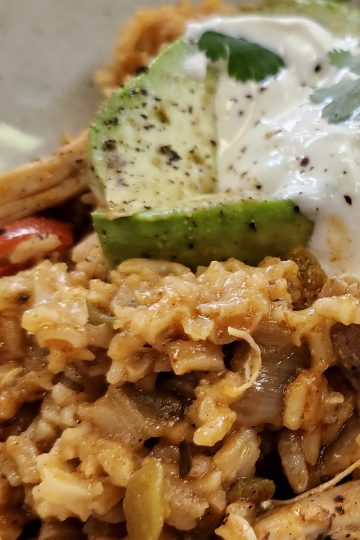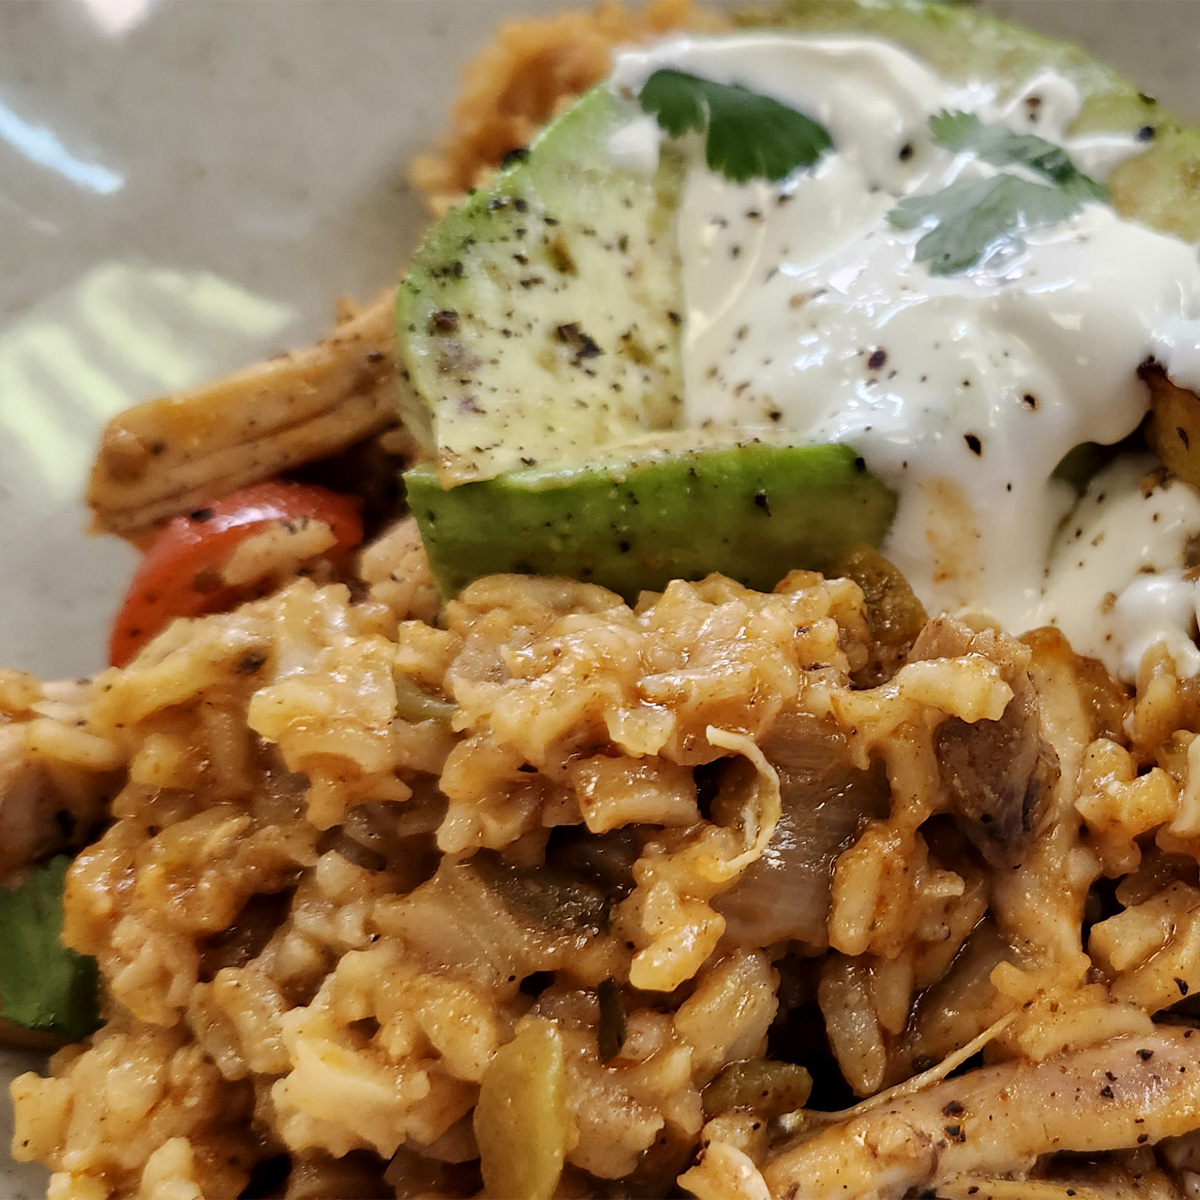
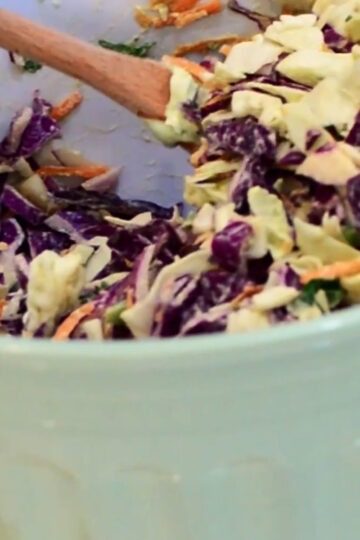
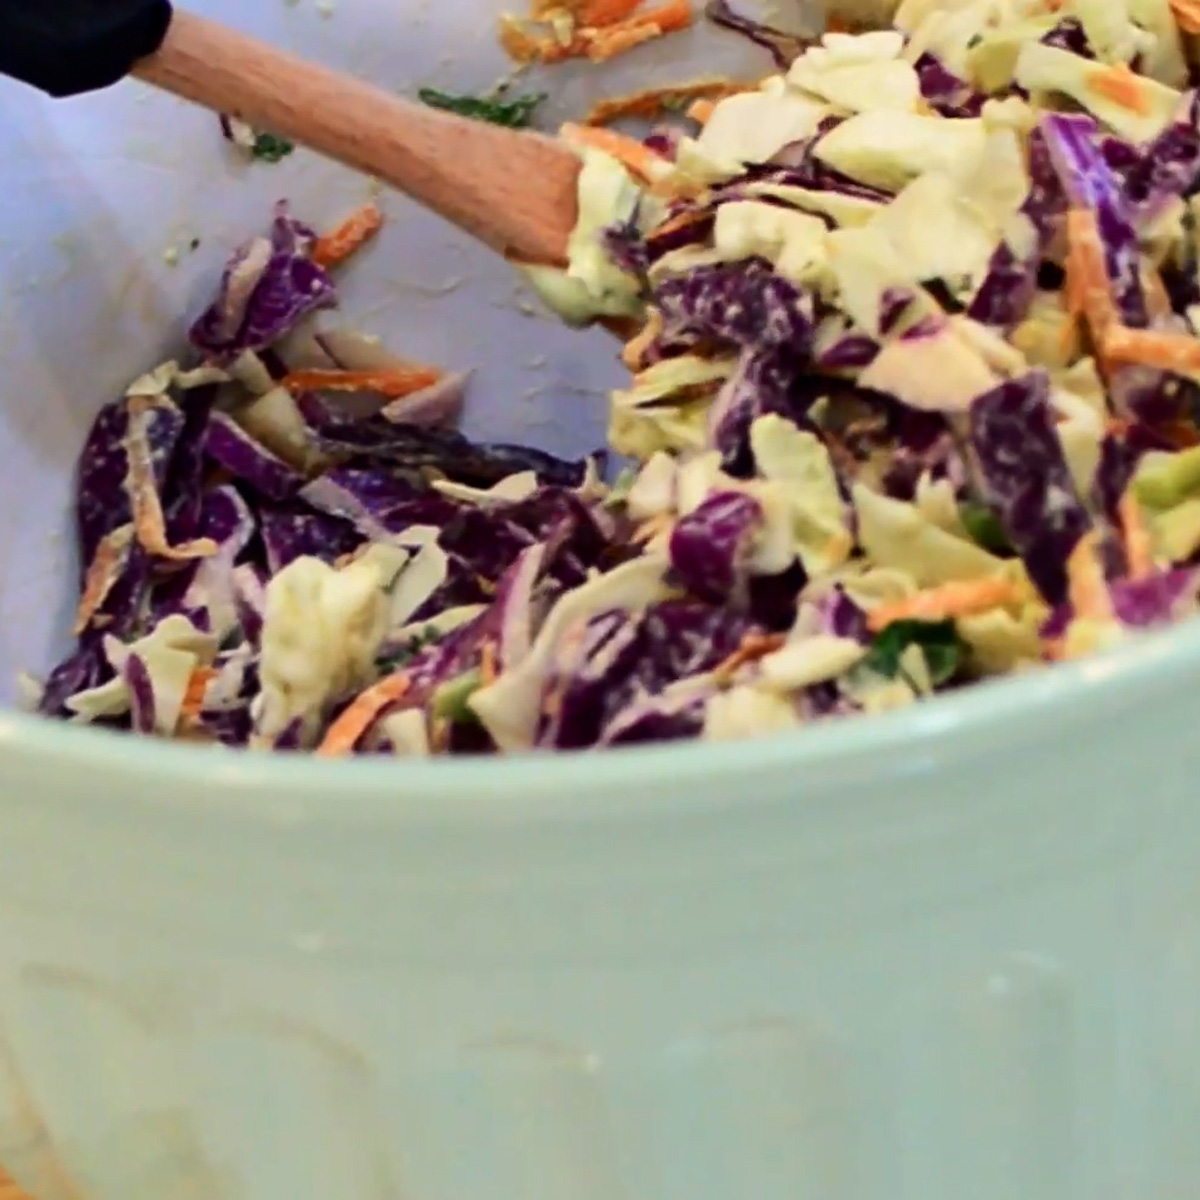
When it comes to fresh, flavor-packed summer side dishes, this Avocado Crema Vinaigrette Coleslaw from Steve Cooks Stuff Season 2 is a total game-changer. Chef Steve takes a classic coleslaw recipe and flips it on its head with a creamy, tangy avocado vinaigrette that brings bold citrus notes, smooth richness, and just the right kick of heat. With crisp green and purple cabbage, shredded carrots, zesty jalapeño, and bright cilantro, this vibrant slaw delivers the perfect balance of crunch and creaminess—making it one of the best easy coleslaw recipes for summer BBQs, cookouts, and backyard gatherings.

Whether you’re firing up the grill for ribs, burgers, or grilled chicken, this avocado coleslaw recipe is the ultimate side dish to round out your plate. The combination of fresh lime juice, apple cider vinegar, and garlic creates a refreshing, crave-worthy dressing that coats every bite without weighing it down. It’s light, colorful, and packed with bold flavor—exactly the kind of dish that guests keep coming back for. If you’re looking to upgrade your BBQ side dish lineup with something unique, healthy-ish, and downright delicious, this Steve Cooks Stuff original is guaranteed to steal the show.
Jump to RecipeIngredients
- 1 Green Cabbage, shredded
- .5 Purple Cabbage, shredded
- .5 cup Carrots, shredded
- 1 Small Purple Onion, diced
- 1 jalapeño, diced
- Fresh Cilantro, chopped and divided
- 1 Avocado, sliced
- 2 tablespoon Apple Cider Vinegar
- 2 Limes, halved
- .25 cup Sour Cream
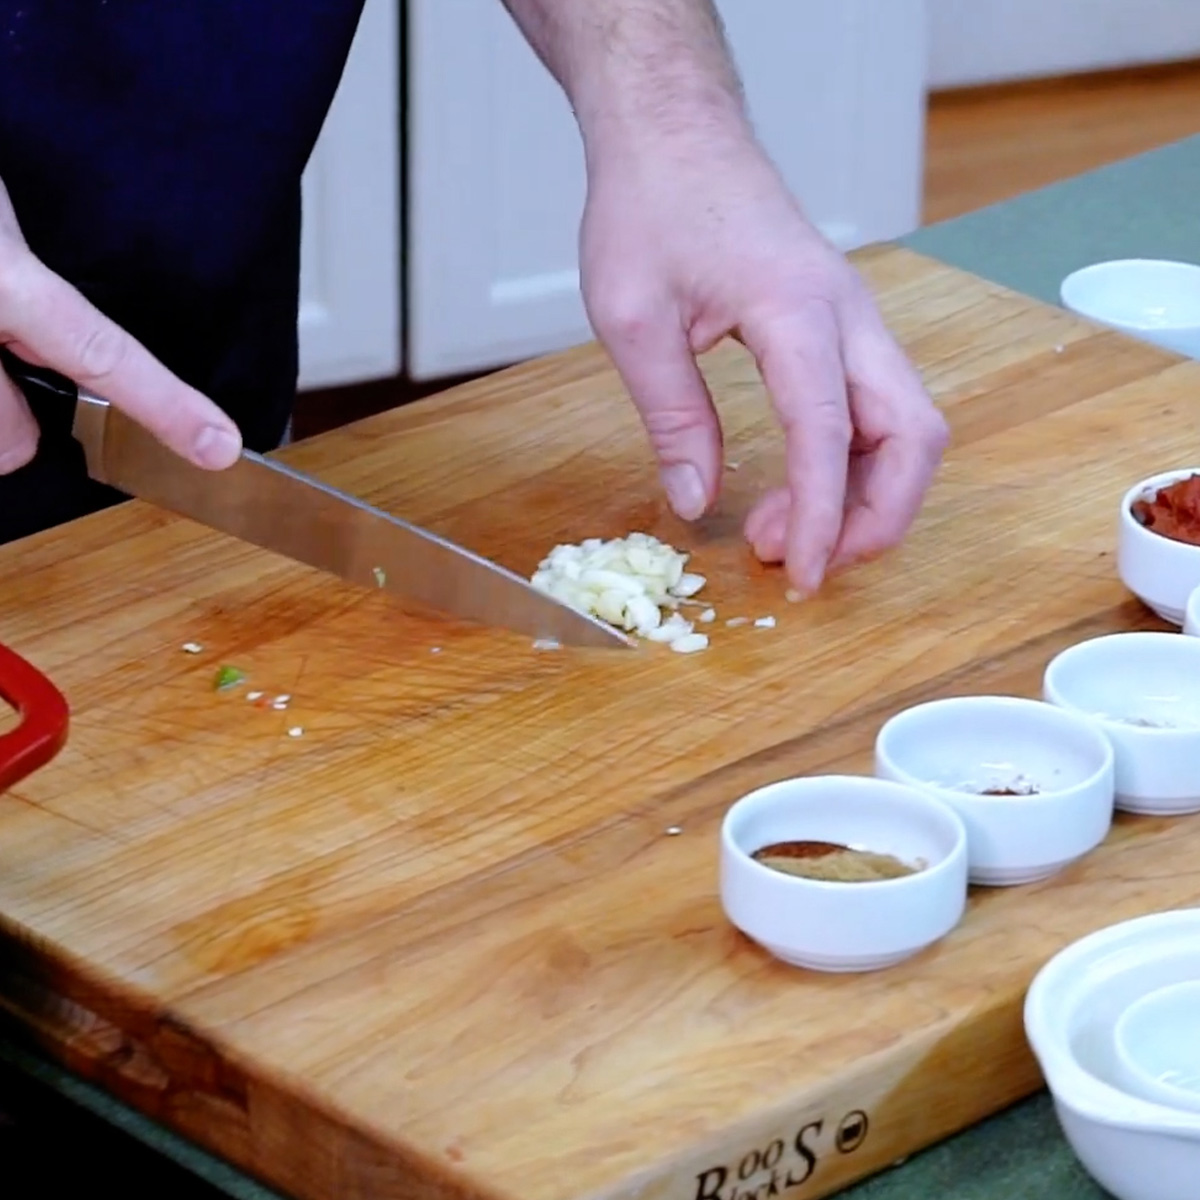
- 1 Garlic Clove, minced
- Salt and Pepper, to taste
See recipe card for quantities.
Instructions
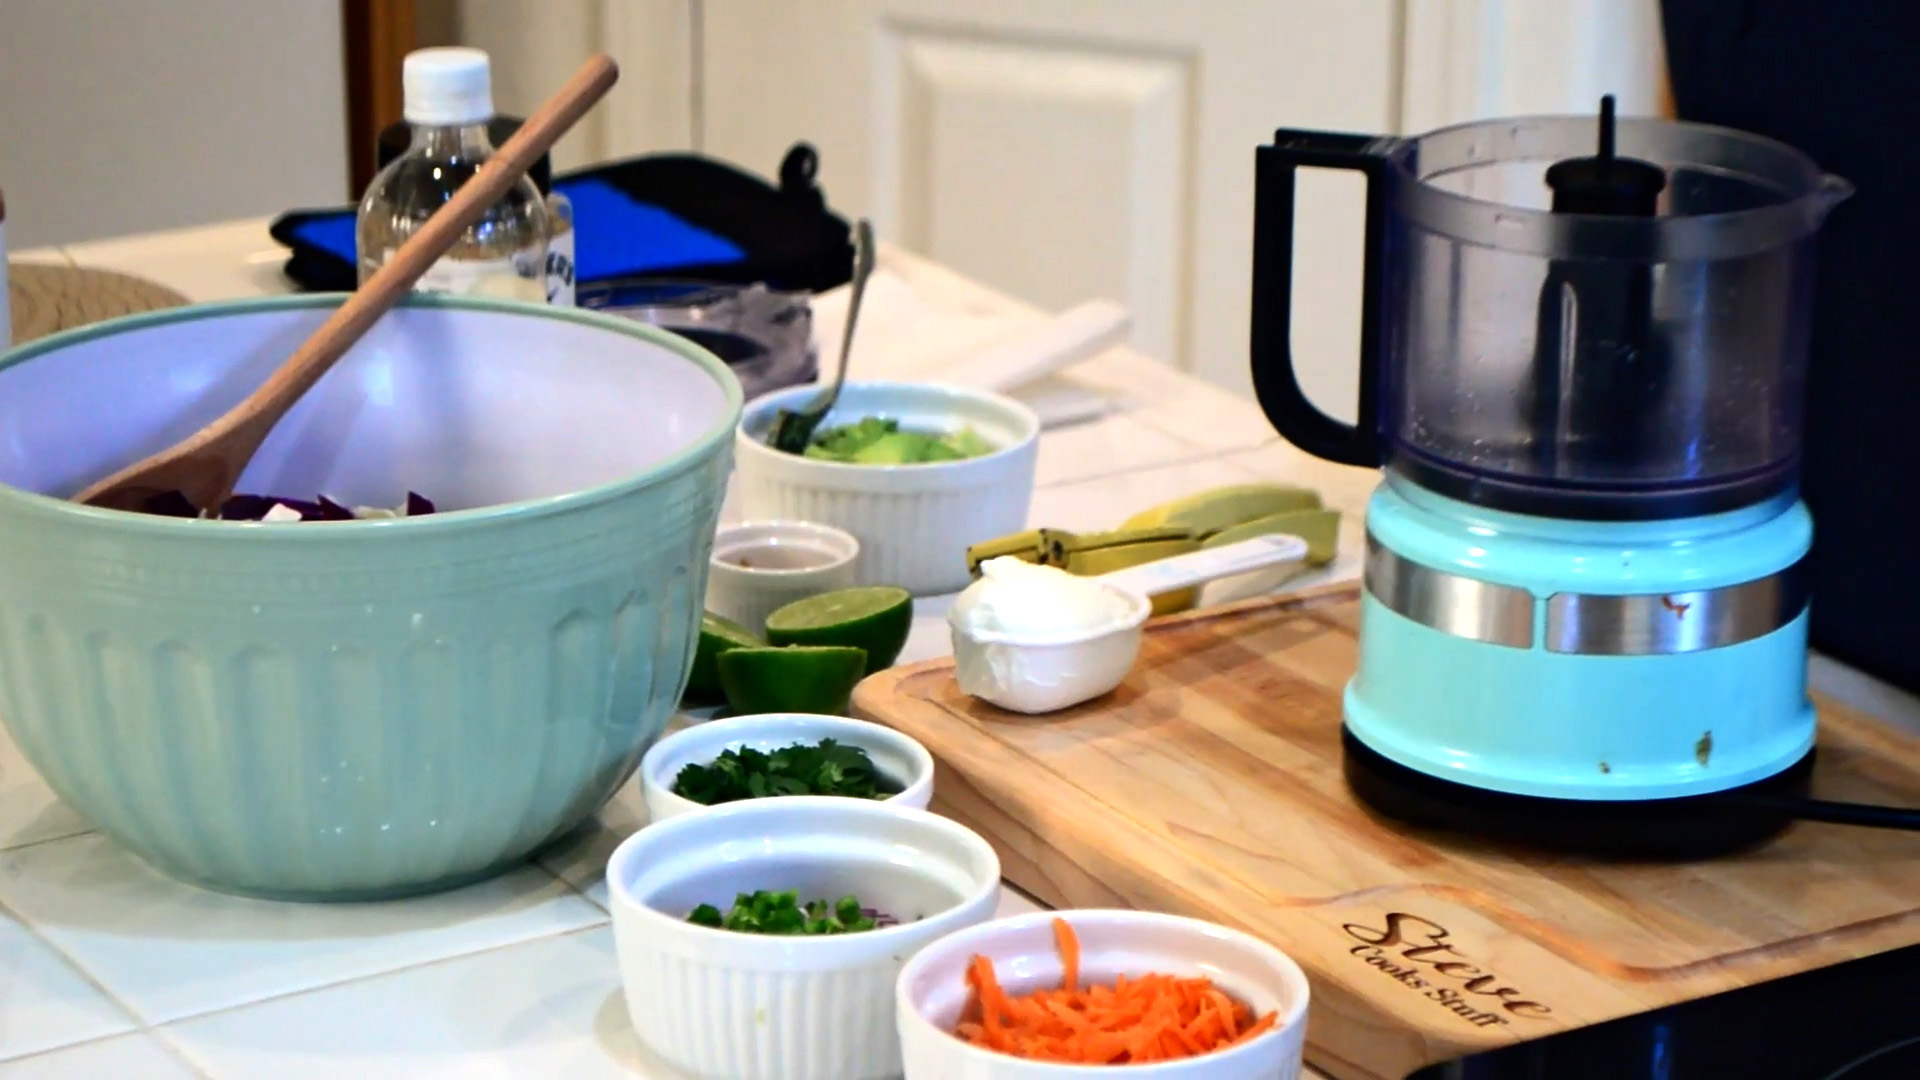
- In a large mixing bowl, combine the cabbage, carrots, purple onion, jalapeño, and ¼ cup cilantro. Gently toss until evenly mixed.
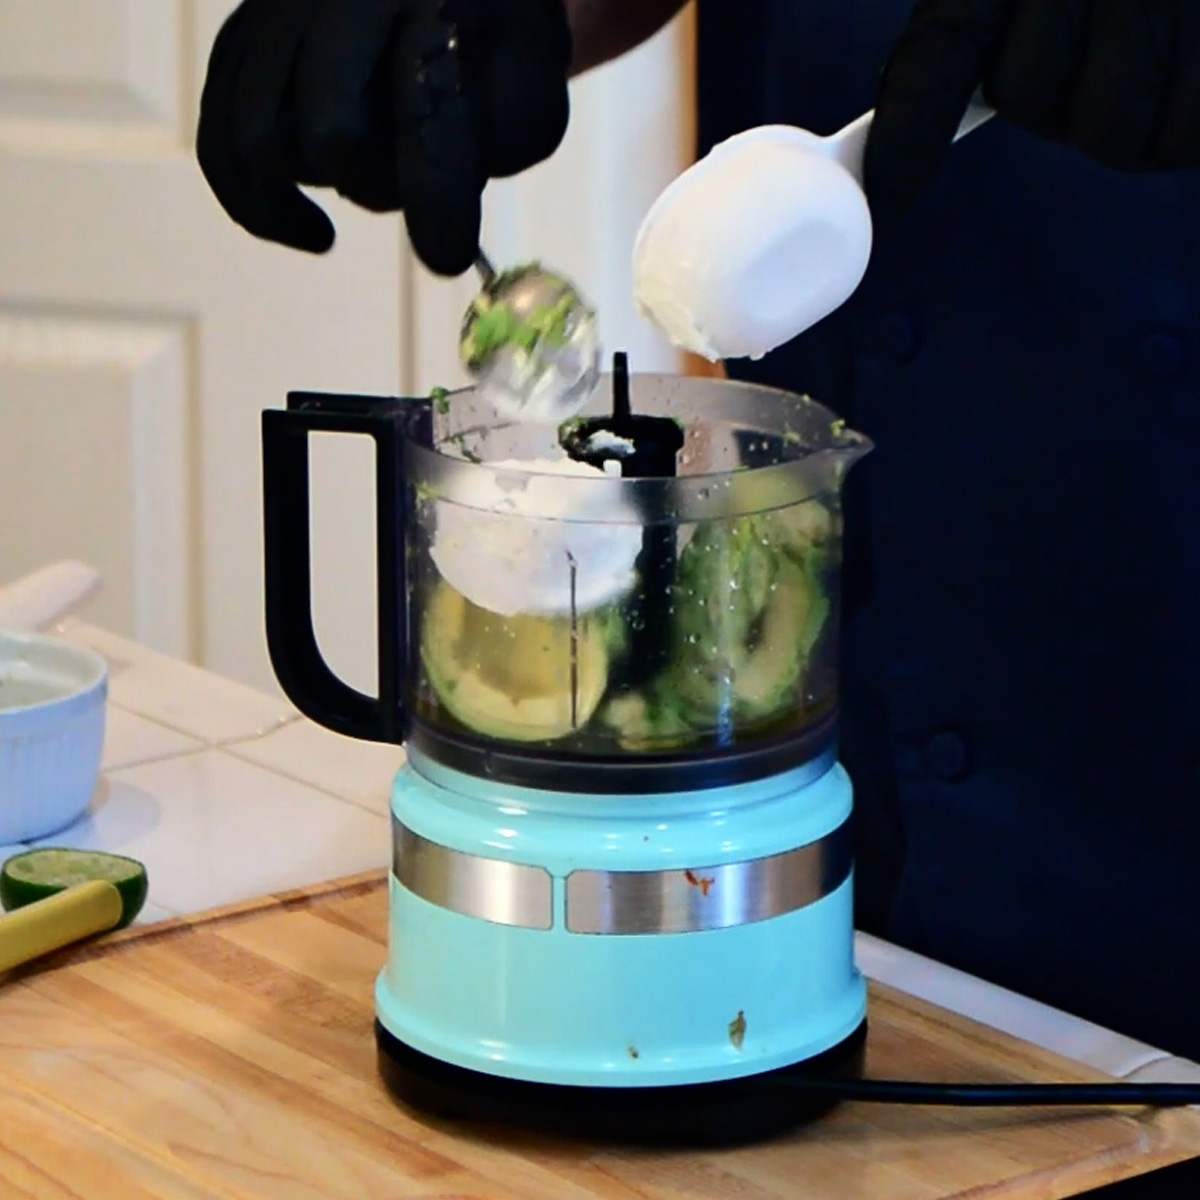
2. In a food processor, add the avocado, apple cider vinegar, juice of one lime, sour cream, and garlic.
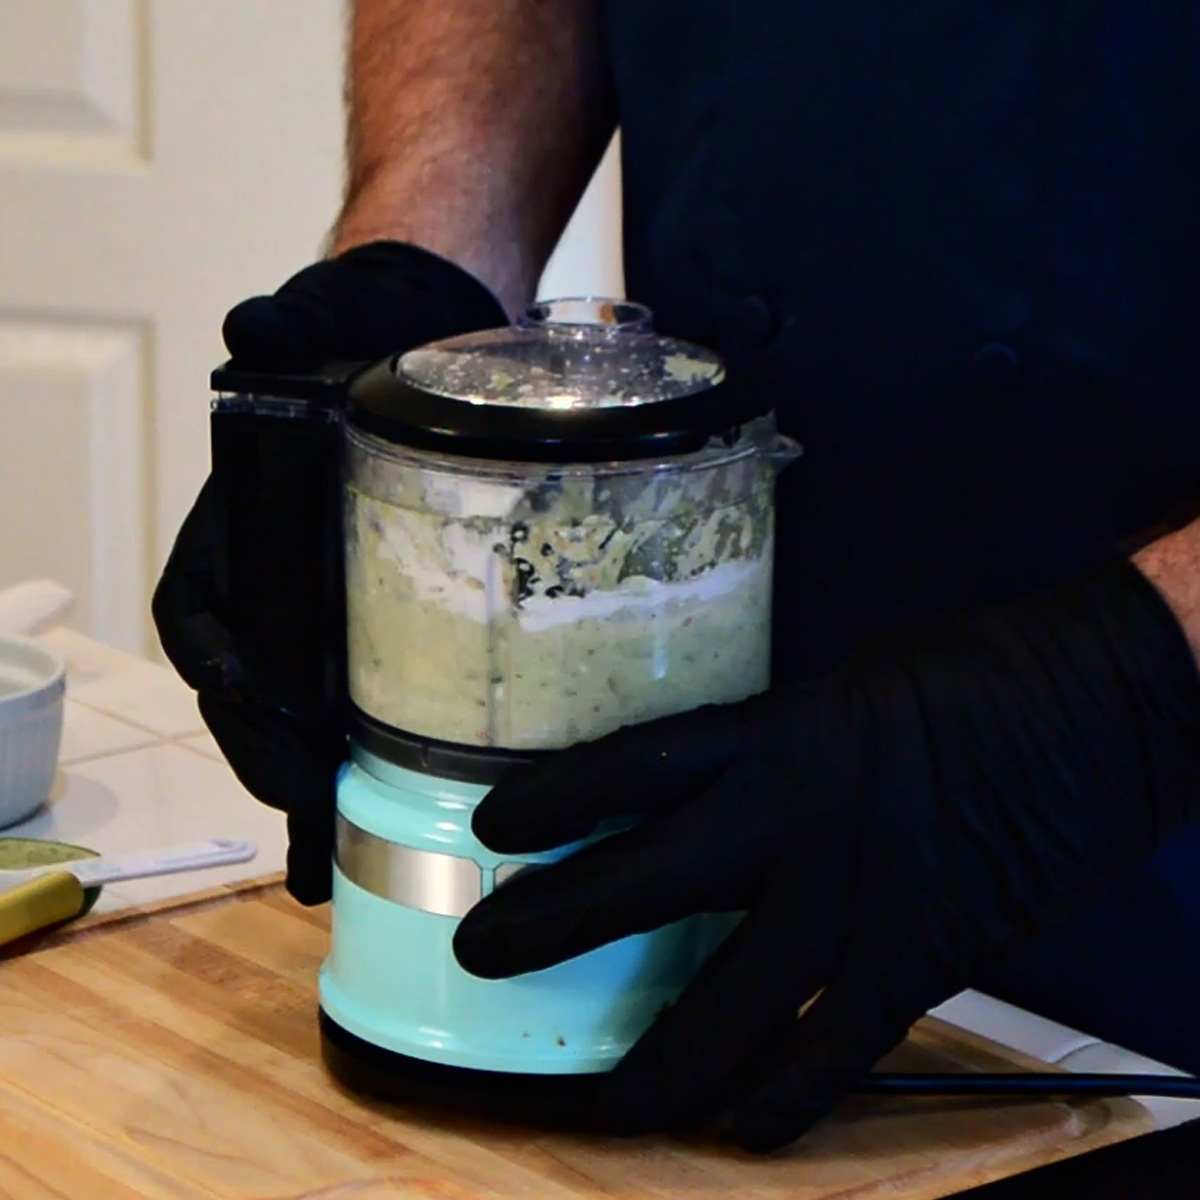
3. Pulse on puree mode until smooth and fully combined. Stop occasionally to scrape down the sides so everything blends evenly.
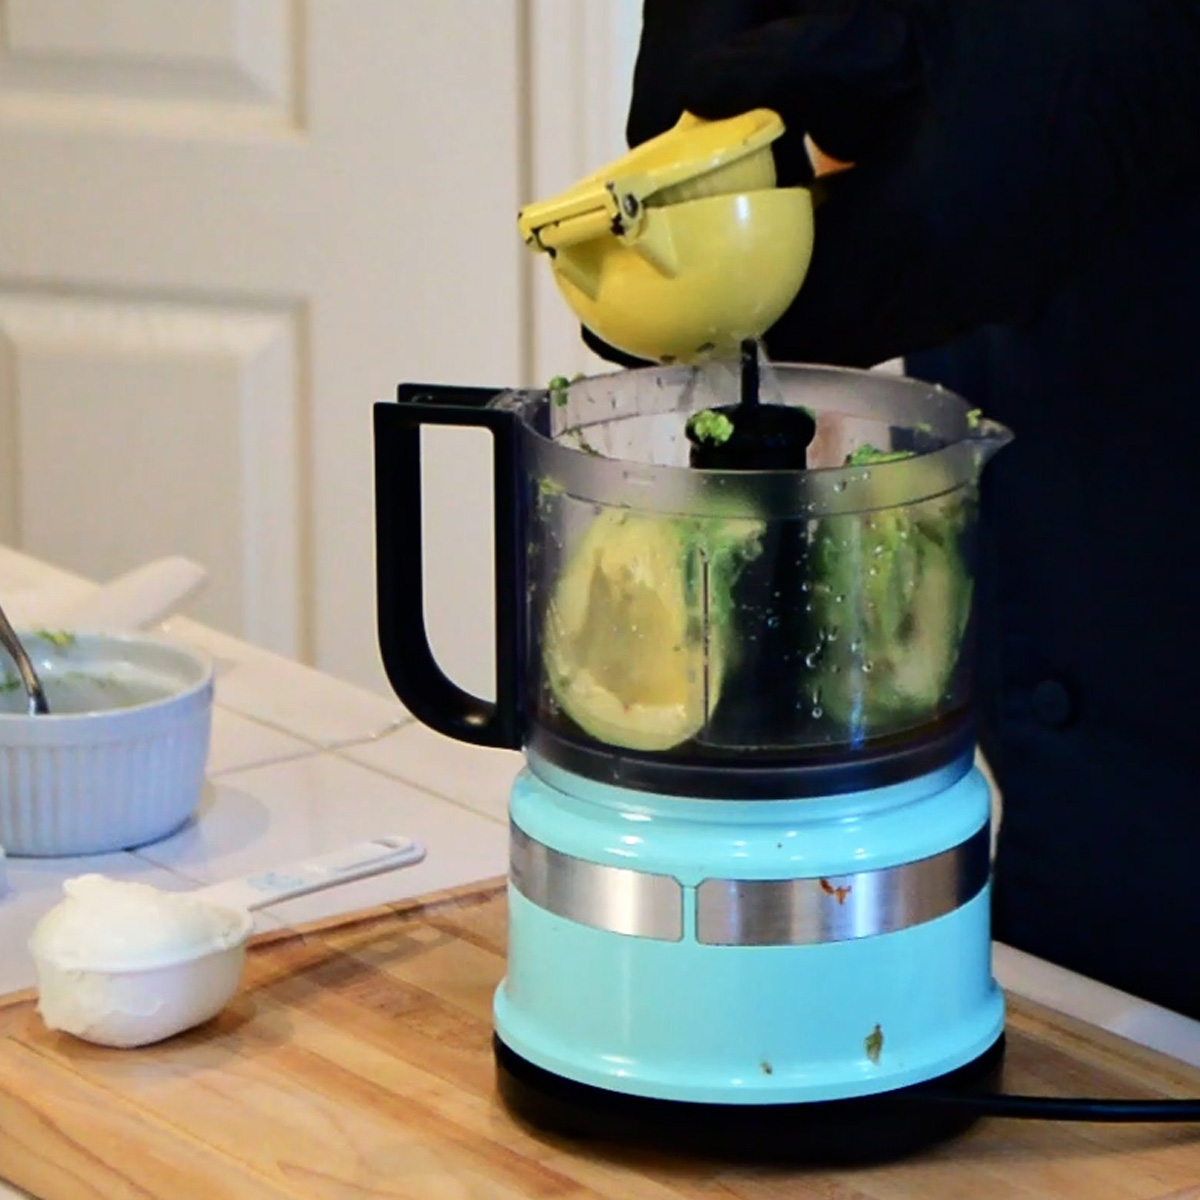
4. If the mixture is too thick, add a little more lime juice, a small amount at a time, until you reach your desired consistency.
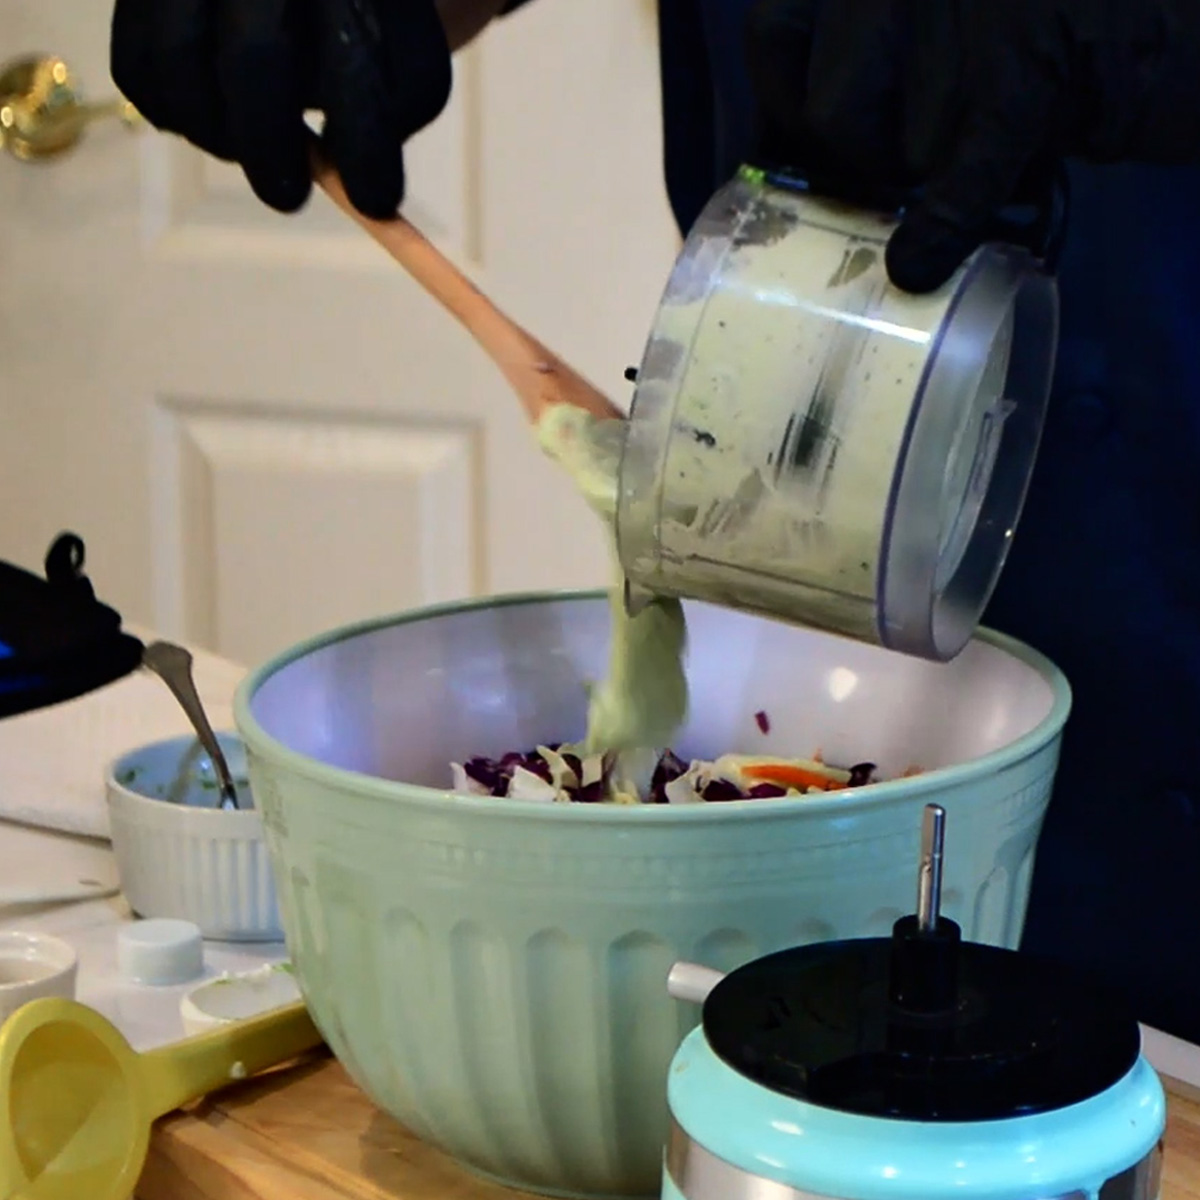
5. Slowly pour the avocado crema into the coleslaw mixture, adding a little at a time while gently tossing. Continue until everything is evenly coated.
Tip: Aim for a texture that’s creamy but still pourable—not too thick, not too runny.
6. Cover and refrigerate until ready to serve. Give it one final toss before serving.
Substitutions
- Sour cream: Use Greek yogurt (lighter, higher protein) or mayo (richer, more classic coleslaw feel)
- Carrots: Swap with shredded jicama, green apple, or even zucchini for a fresh twist
- Cilantro: Swap with parsley, green onion tops, or even a little fresh dill if you’re not a cilantro fan
- Lime juice: Lemon juice works great, or try a mix of lime and orange juice for a slightly sweeter profile
Extra Add-Ins (for a Steve Cooks Stuff twist)
- Sliced radishes for peppery crunch
- Corn kernels (grilled or fresh) for sweetness
- Crumbled queso fresco or feta for a salty pop
- Sunflower seeds or pepitas for added texture
Variations
- Southwest Avocado Slaw - Add black beans, roasted corn, and a pinch of cumin or chili powder to the mix. Finish with cotija cheese for a smoky, Tex-Mex vibe that pairs perfectly with grilled meats.
- Tropical Mango Avocado Slaw - Fold in diced fresh mango or pineapple for a sweet, juicy contrast to the creamy dressing. This version is killer alongside grilled shrimp, fish tacos, or jerk chicken.
- Kid friendly - Remove peppers altogether if the youngsters (or adults, no offense) can't handle the heat
Pro tip
Give it a quick stir before serving, and if it looks watery, you can drain off a little excess liquid to bring it back to life.
Equipment
Storage
Coleslaw will typically stay fresh in the refrigerator for 3 to 5 days when stored in an airtight container, but for maximum crunch and freshness eat within the first couple of days.
FAQ
Yes, you can make this coleslaw a few hours ahead of time—just store it covered in the refrigerator. For best results, prepare the slaw mix and dressing separately, then combine them about 30–60 minutes before serving. This keeps the cabbage crisp and prevents the avocado crema from becoming too soft or watery
The lime juice in the dressing helps slow down browning, but for the freshest look and flavor, store the coleslaw in an airtight container and press plastic wrap directly onto the surface. It’s best enjoyed within 2–3 days when the color and texture are at their peak.
This creamy, tangy coleslaw pairs perfectly with classic BBQ favorites like grilled chicken, ribs, pulled pork, and burgers. It’s also a great topping for tacos, sandwiches, and sliders, adding a fresh crunch and bright flavor to balance rich, savory dishes.
Related
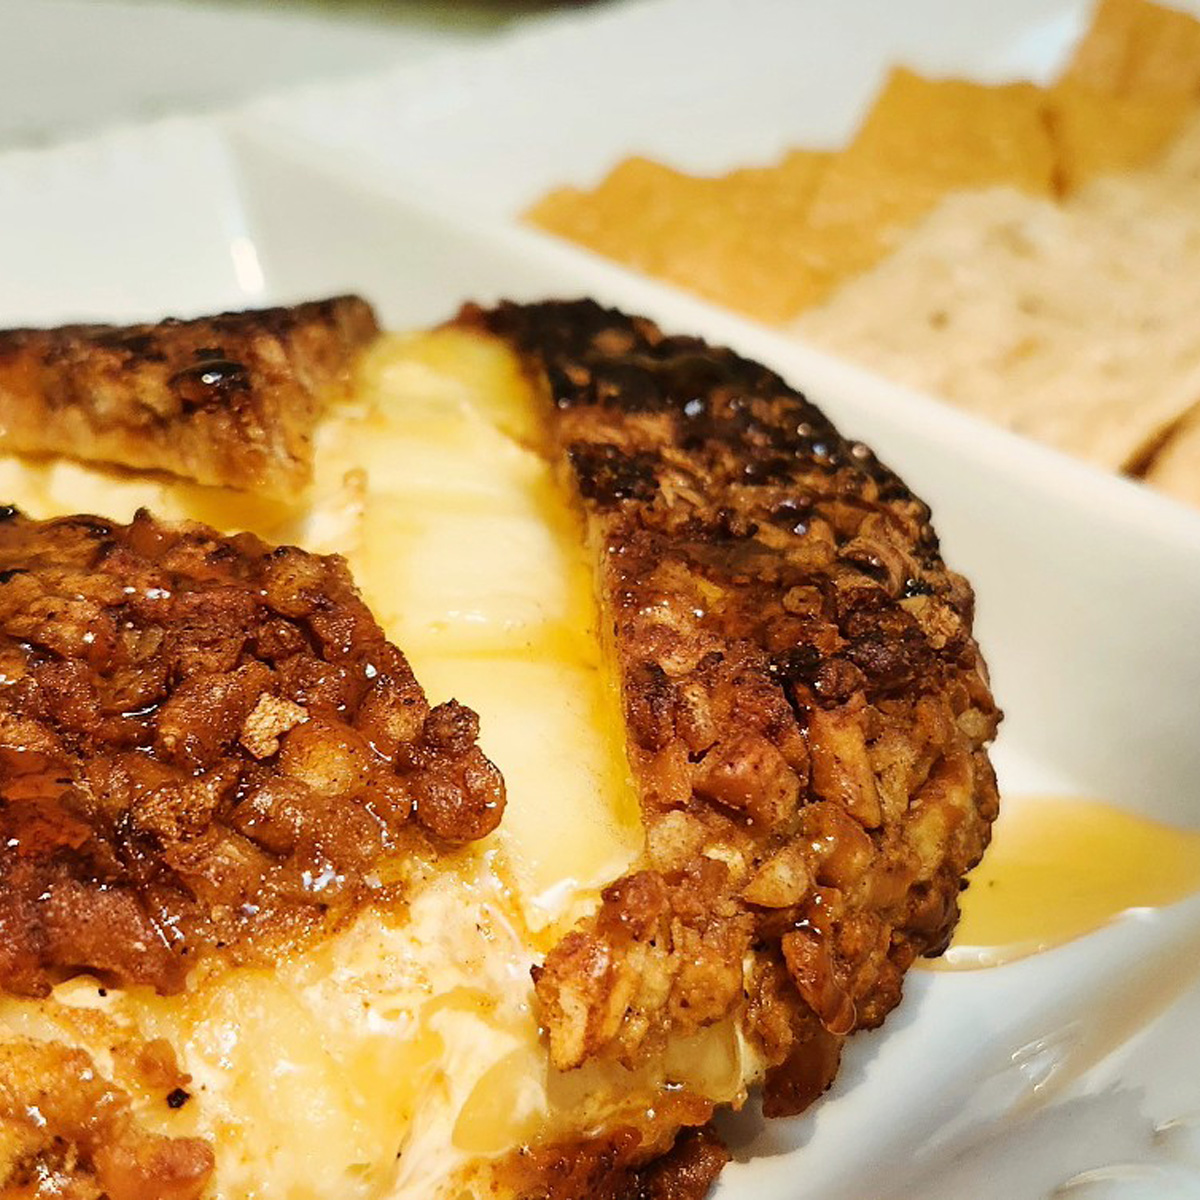
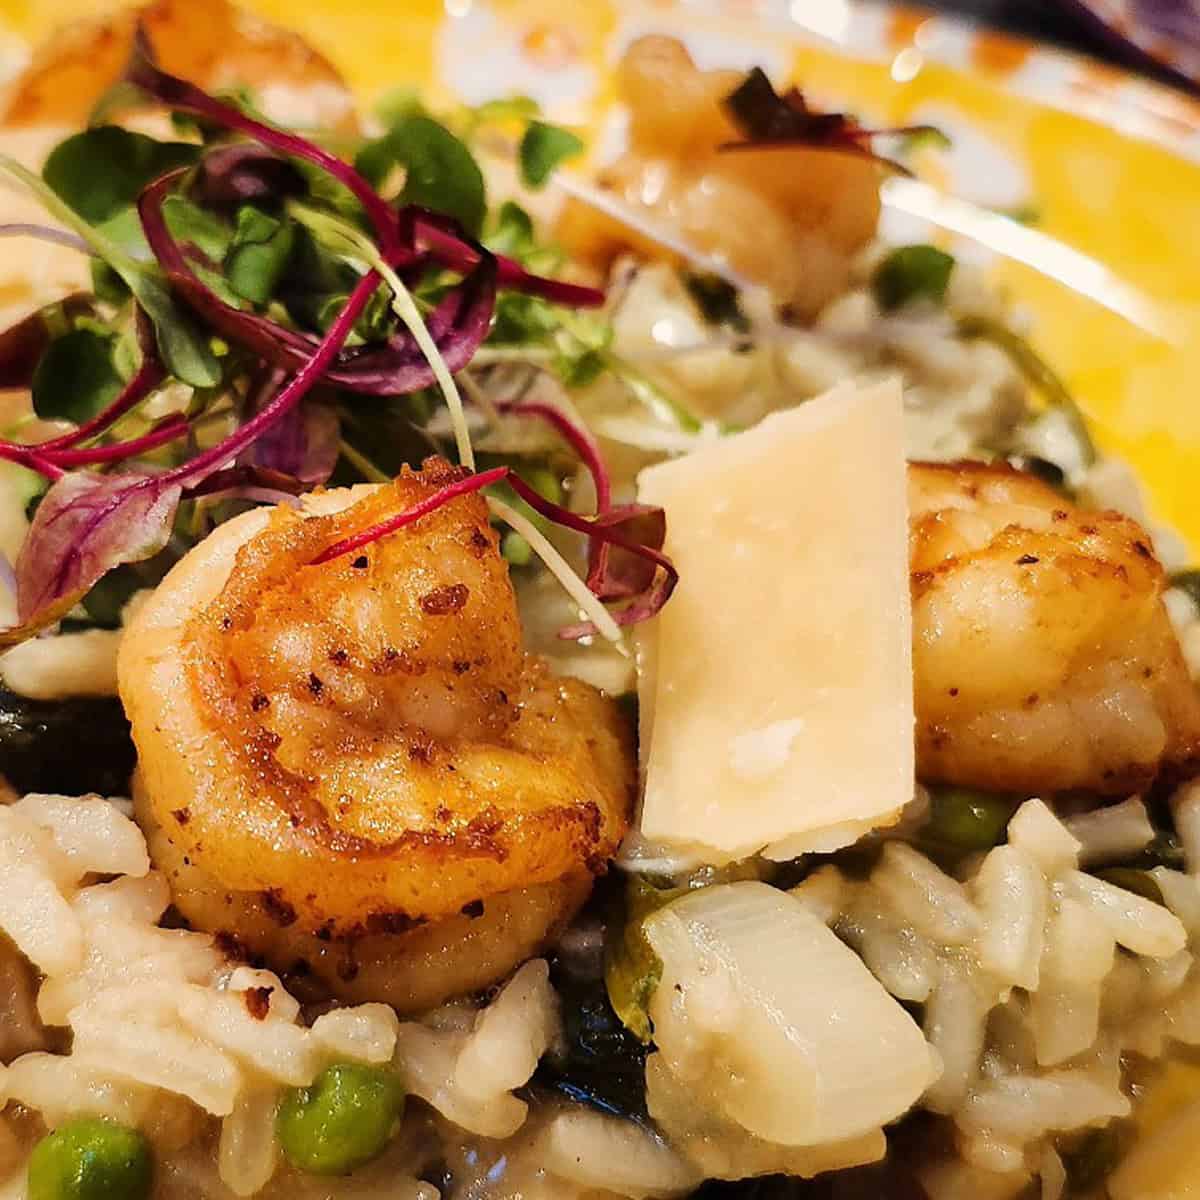
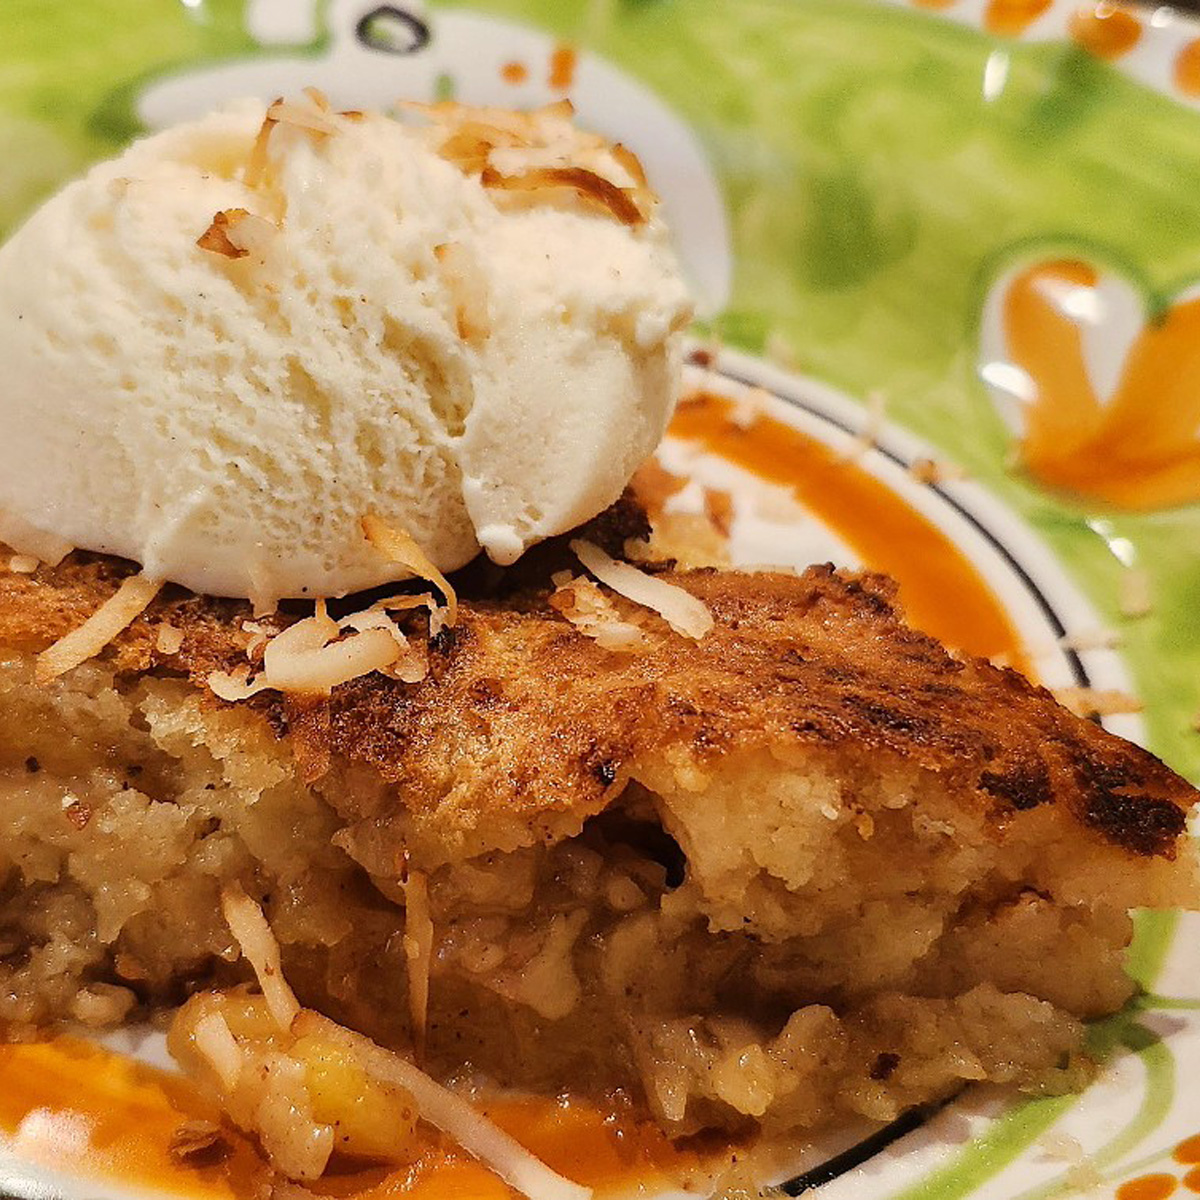
Looking for other recipes from the Steve Cooks Stuff Show? Try these:
- Avocado Crema Vinaigrette Coleslaw
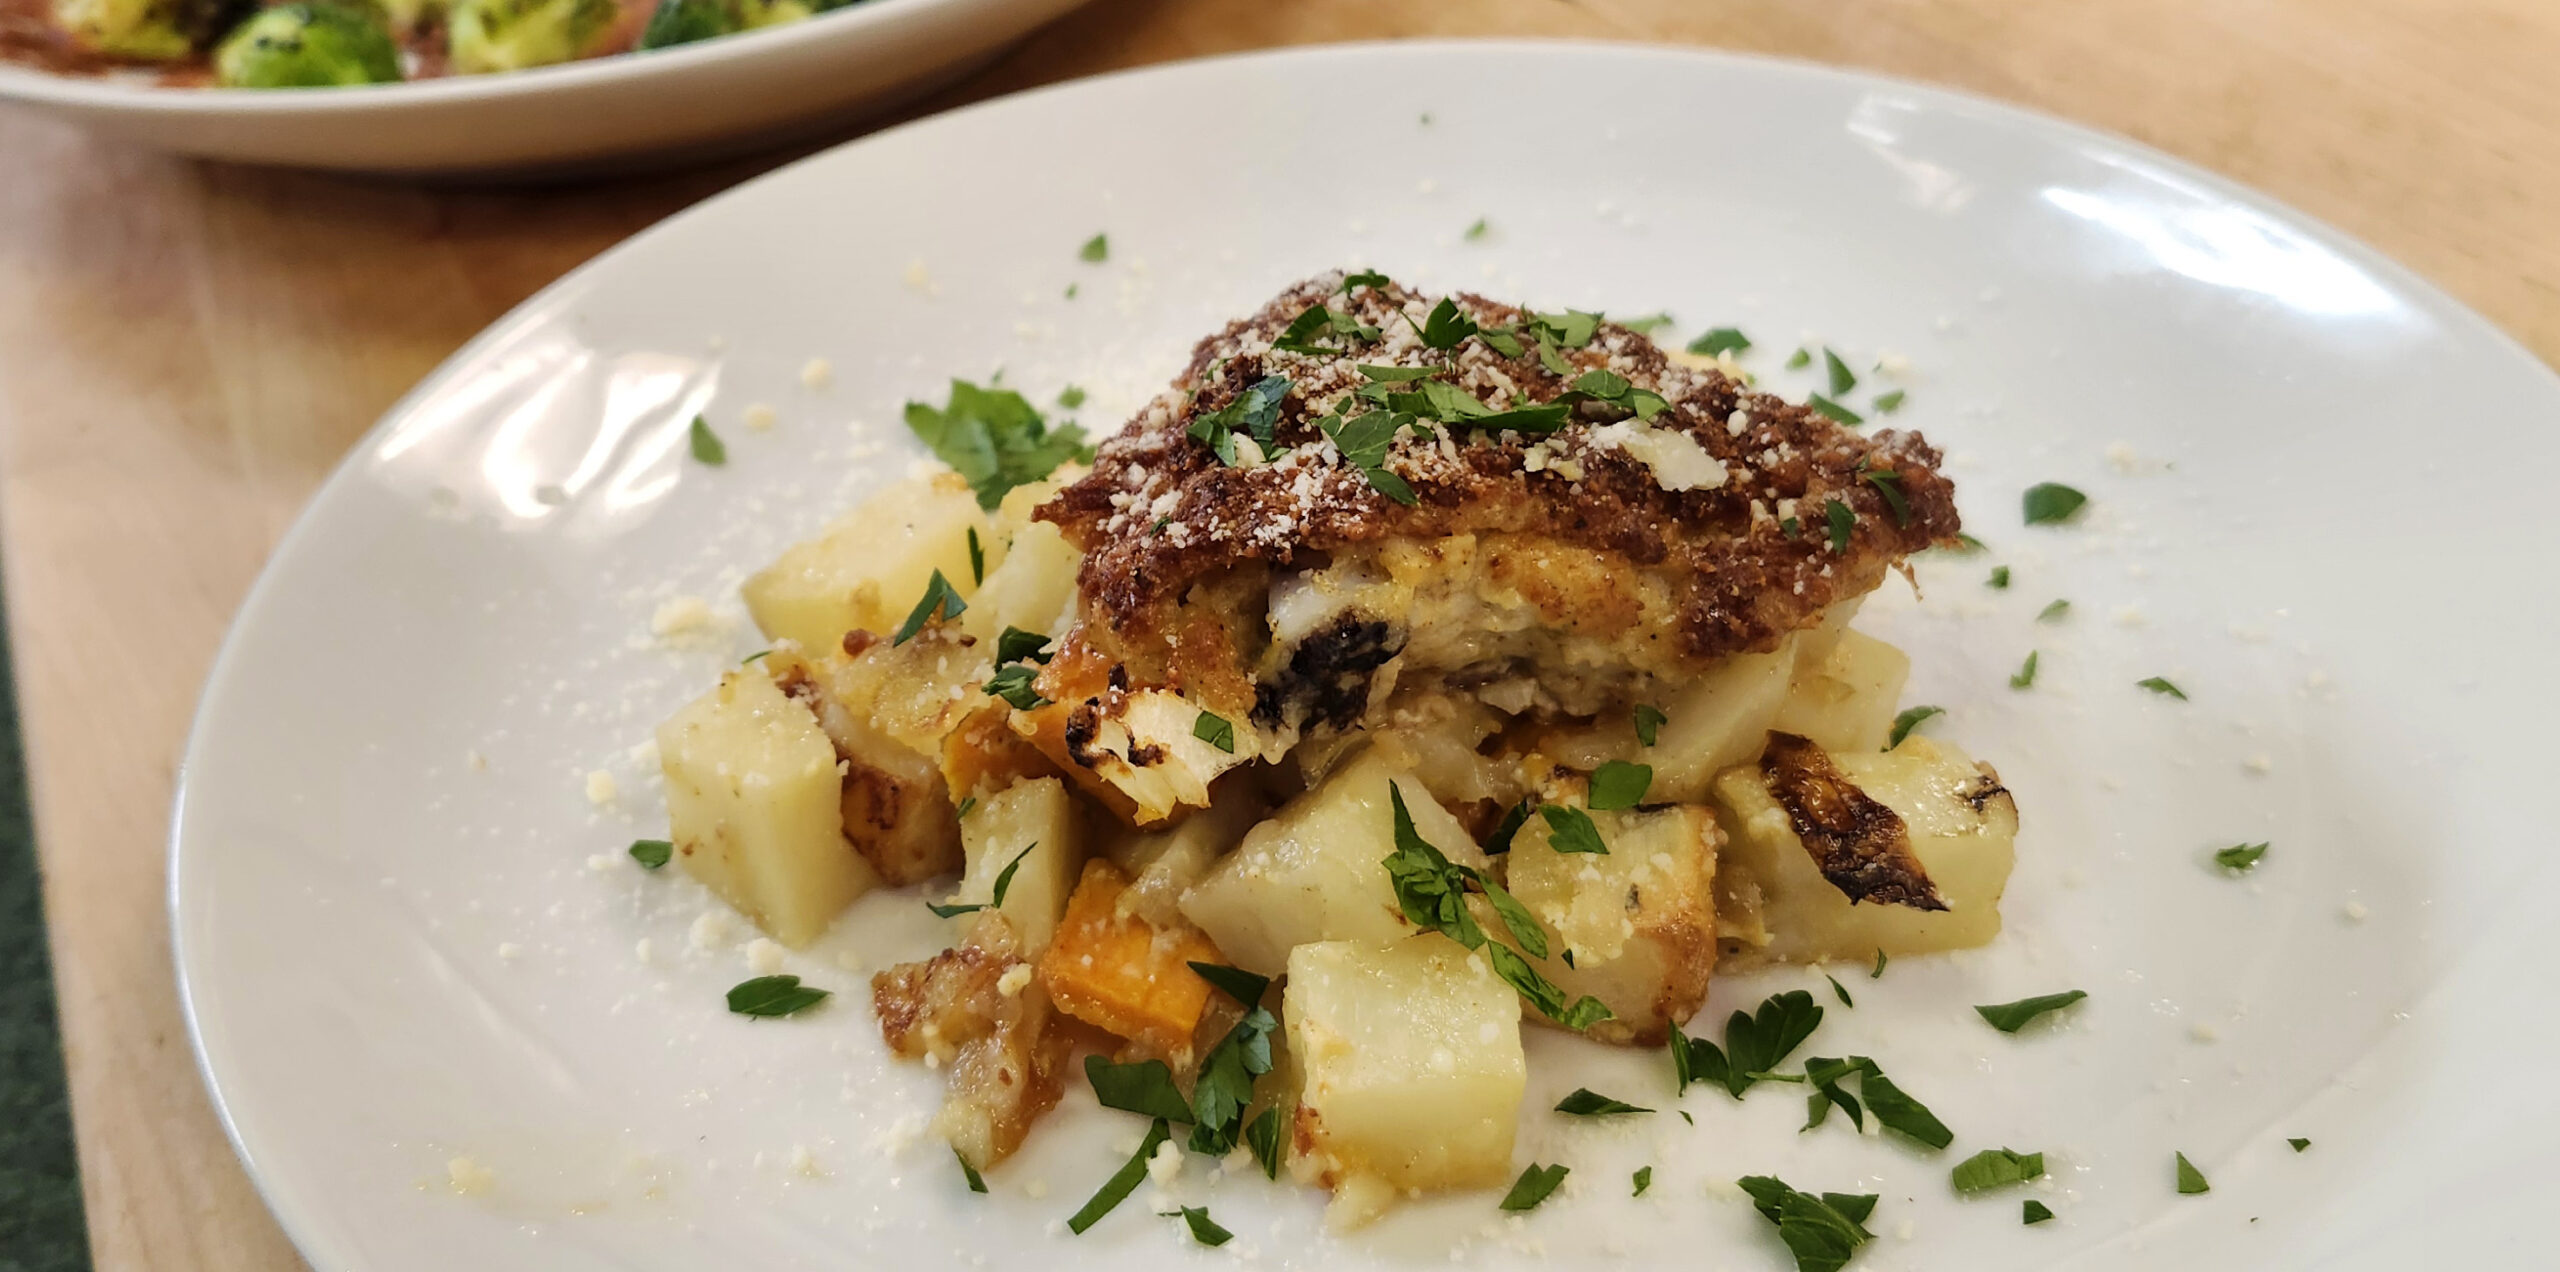
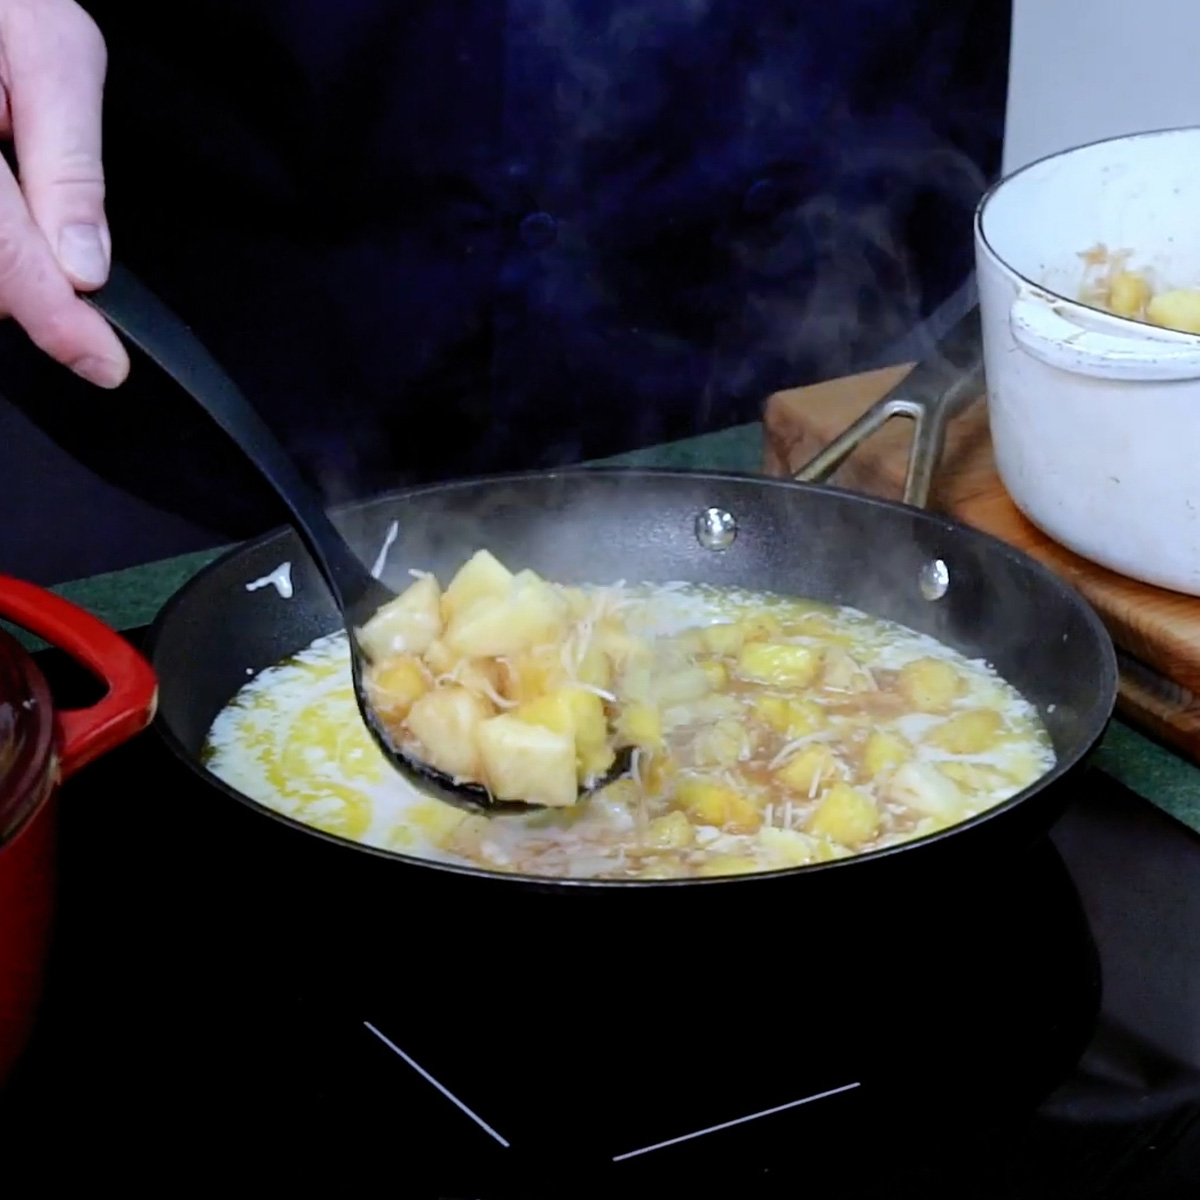
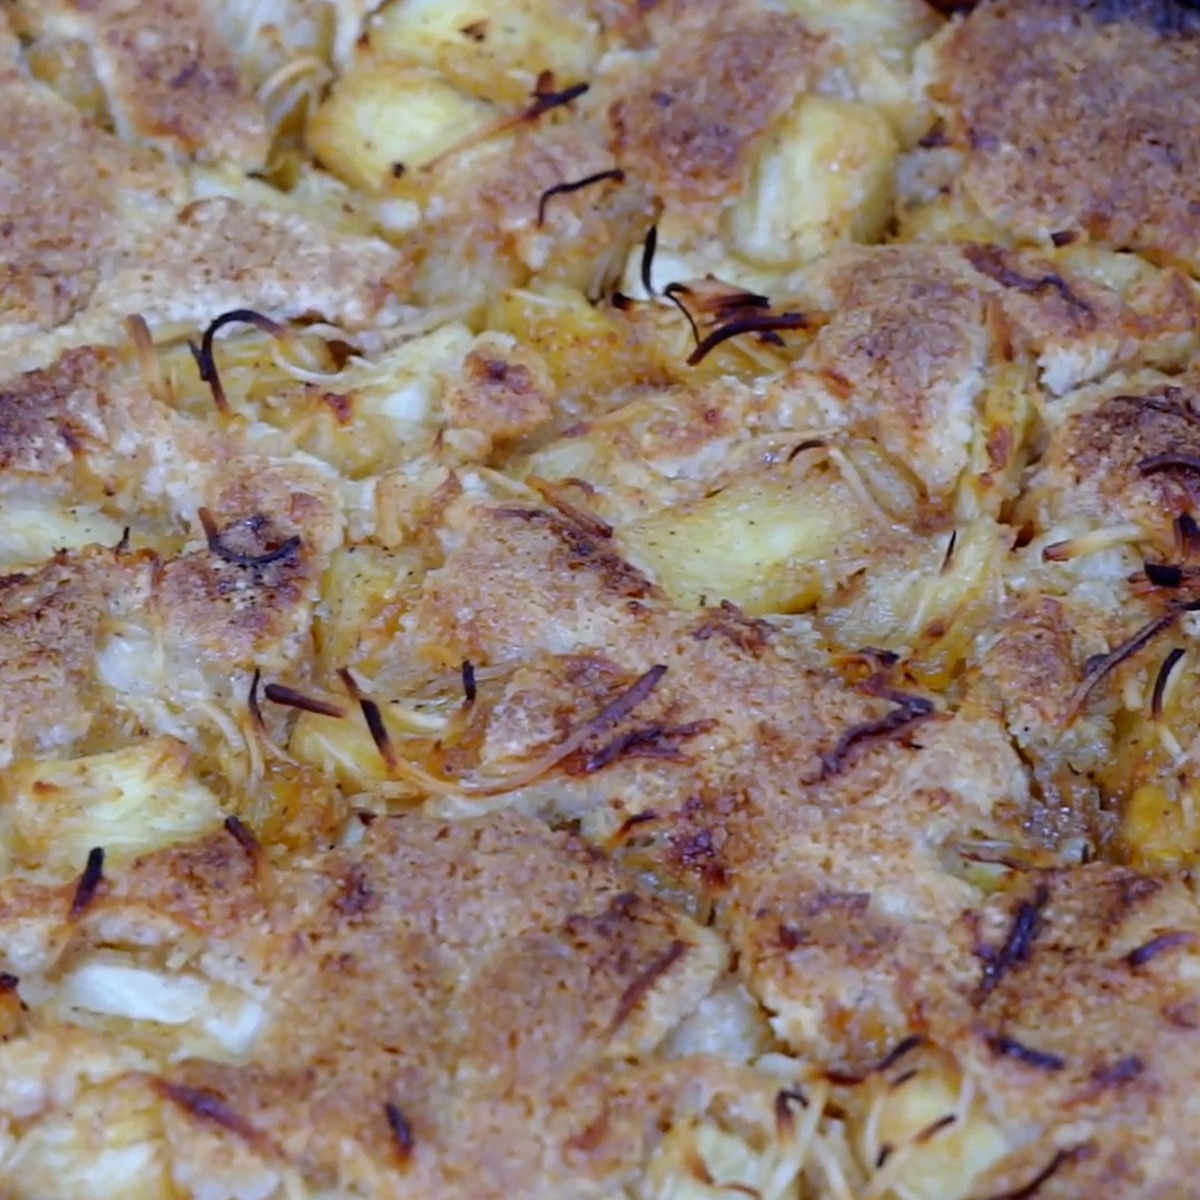
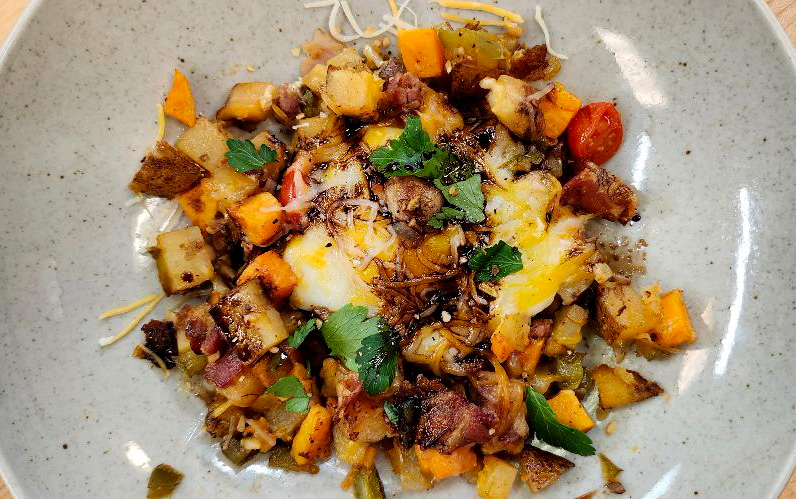
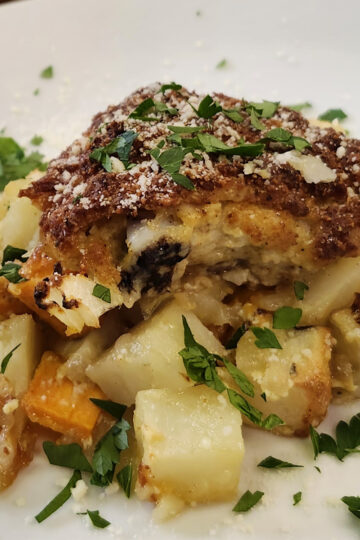
- Parmesan Crusted Chicken and Roasted Potato Medley
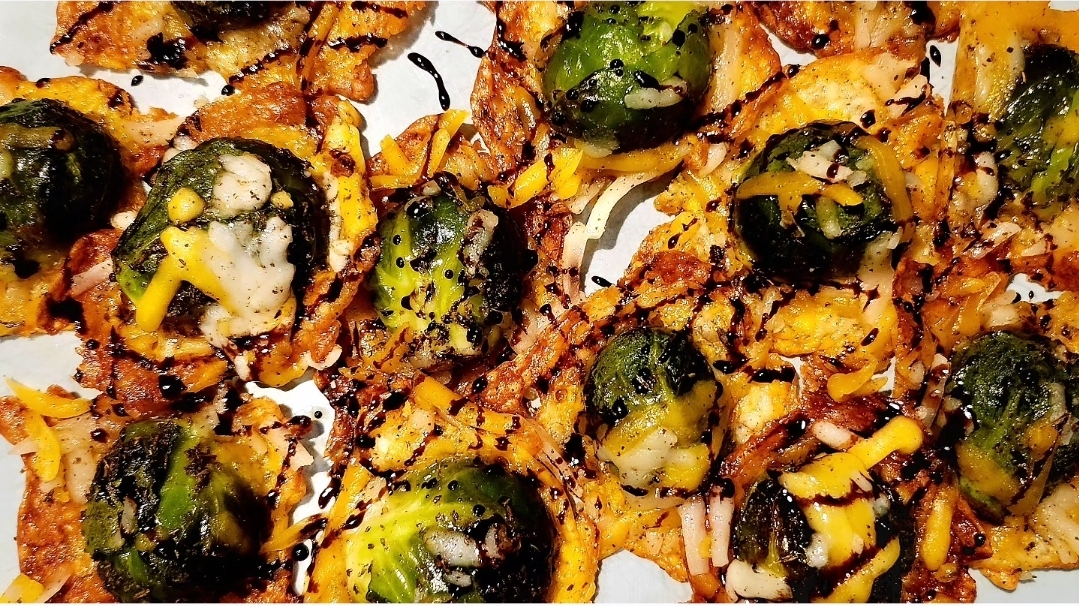
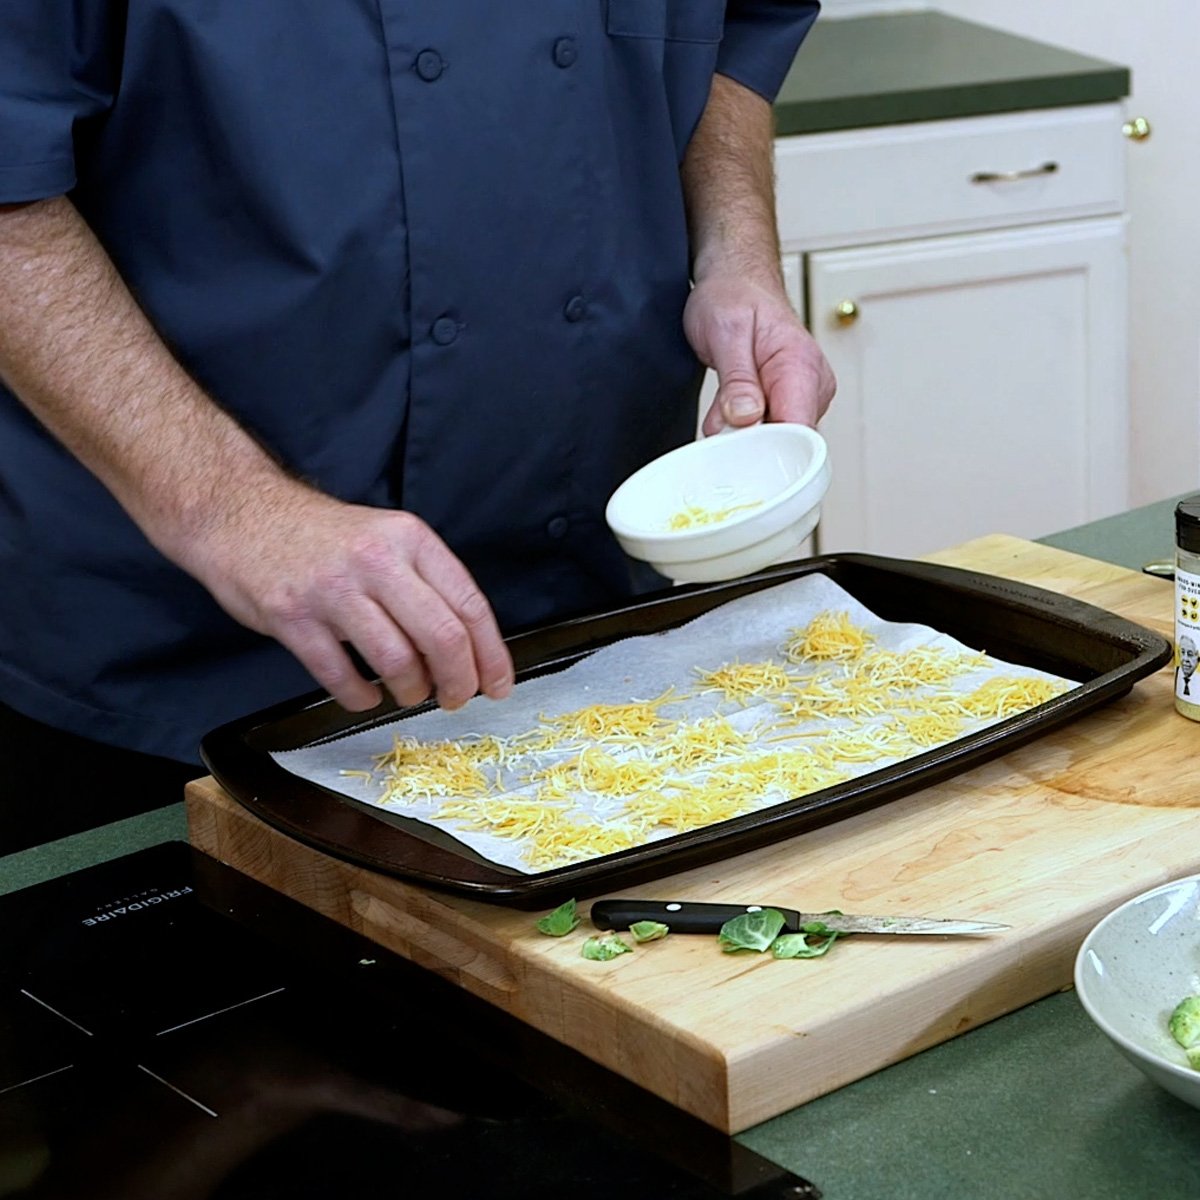
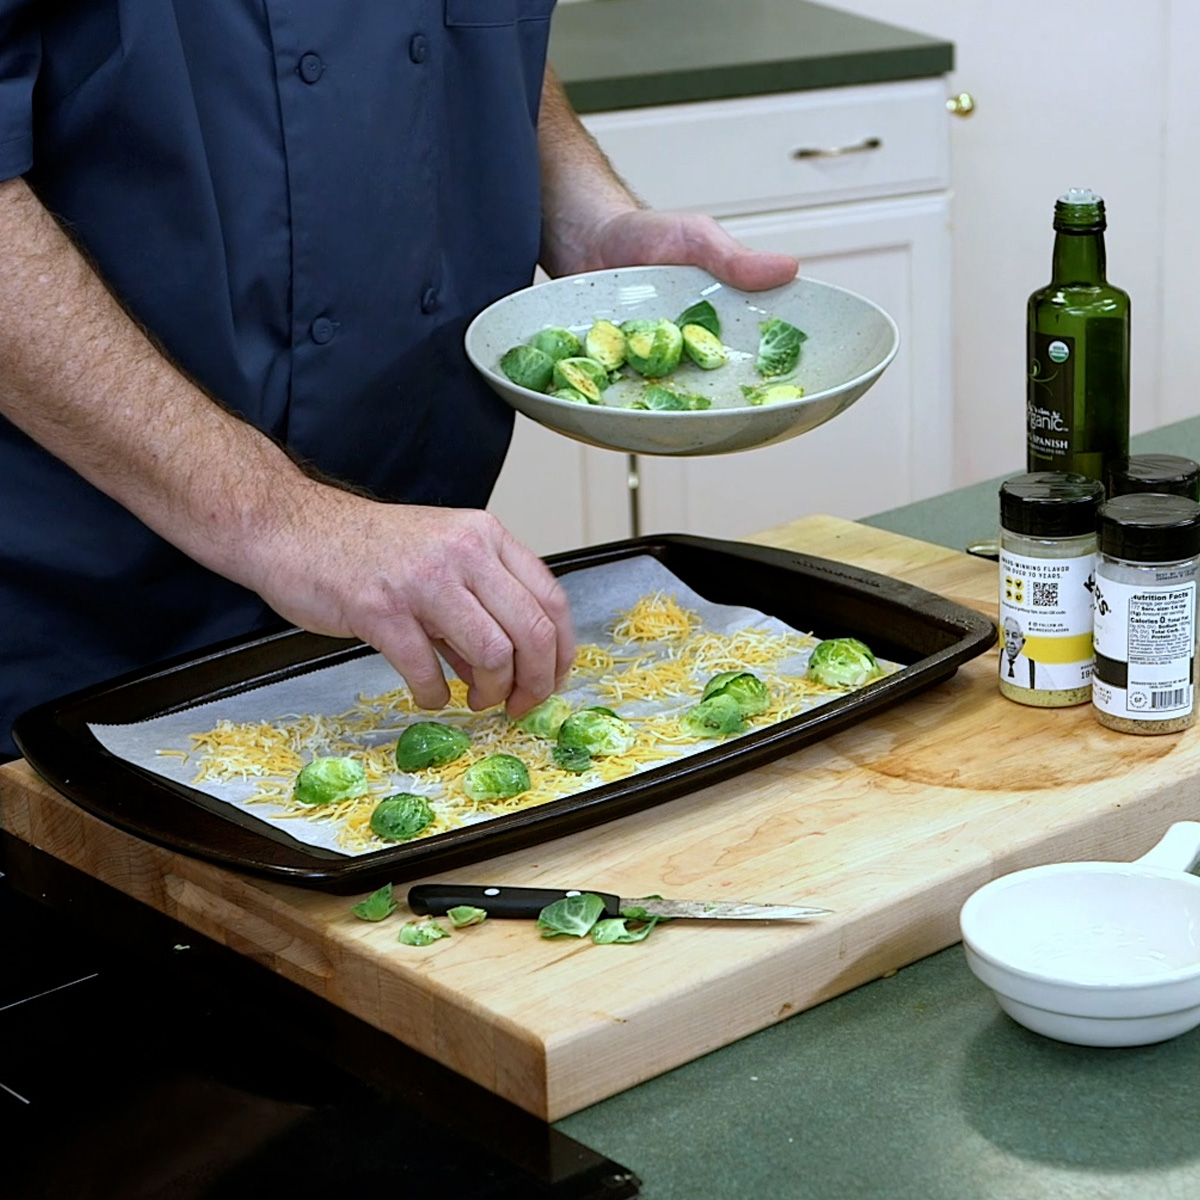
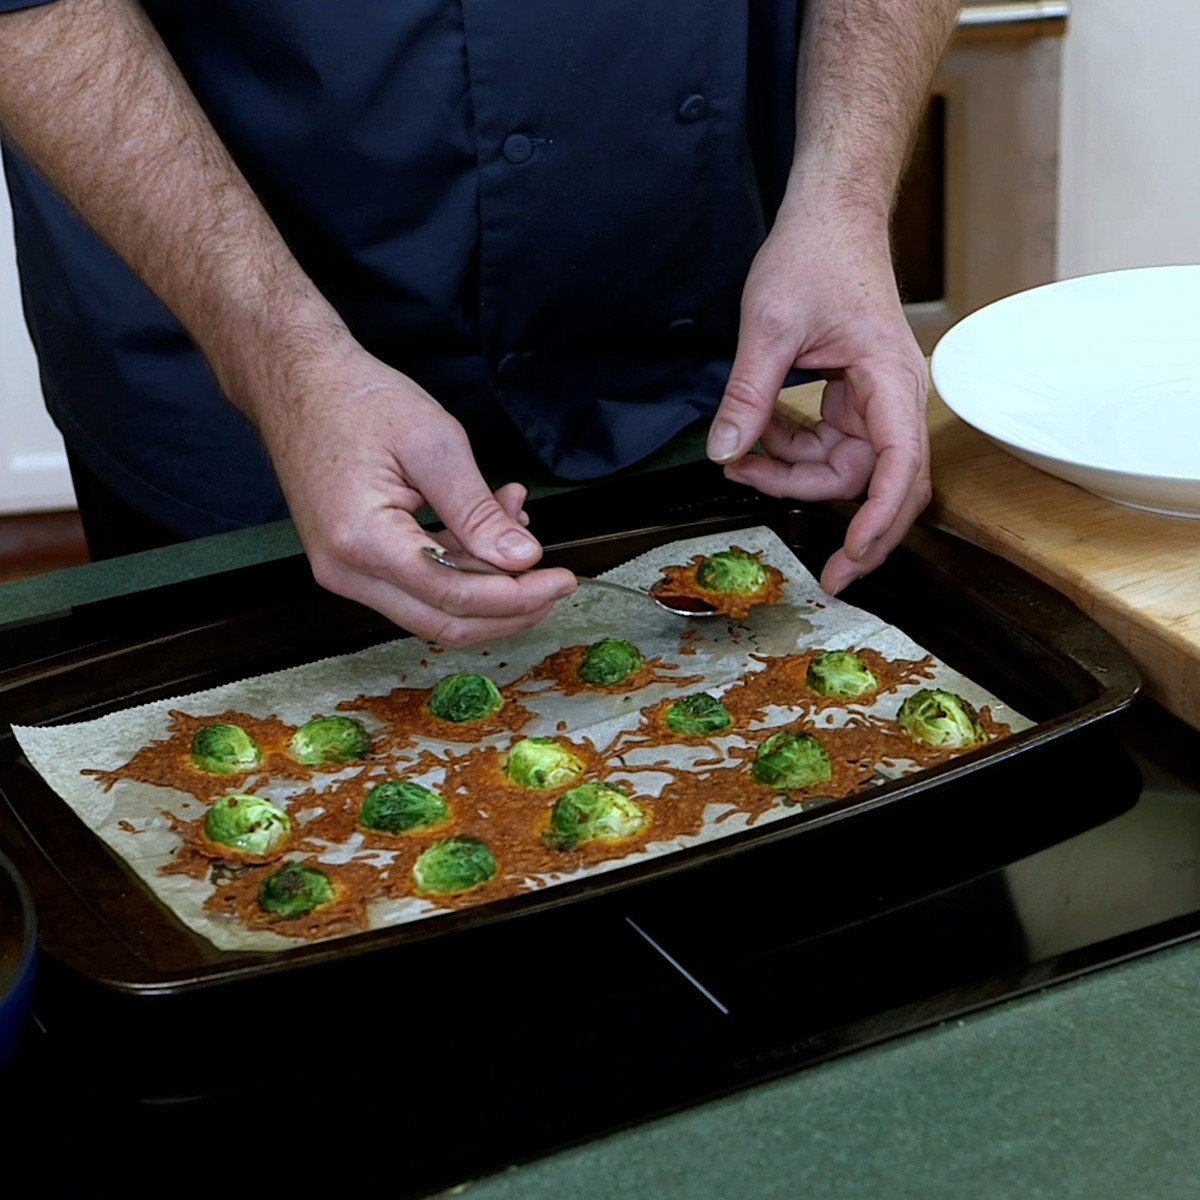
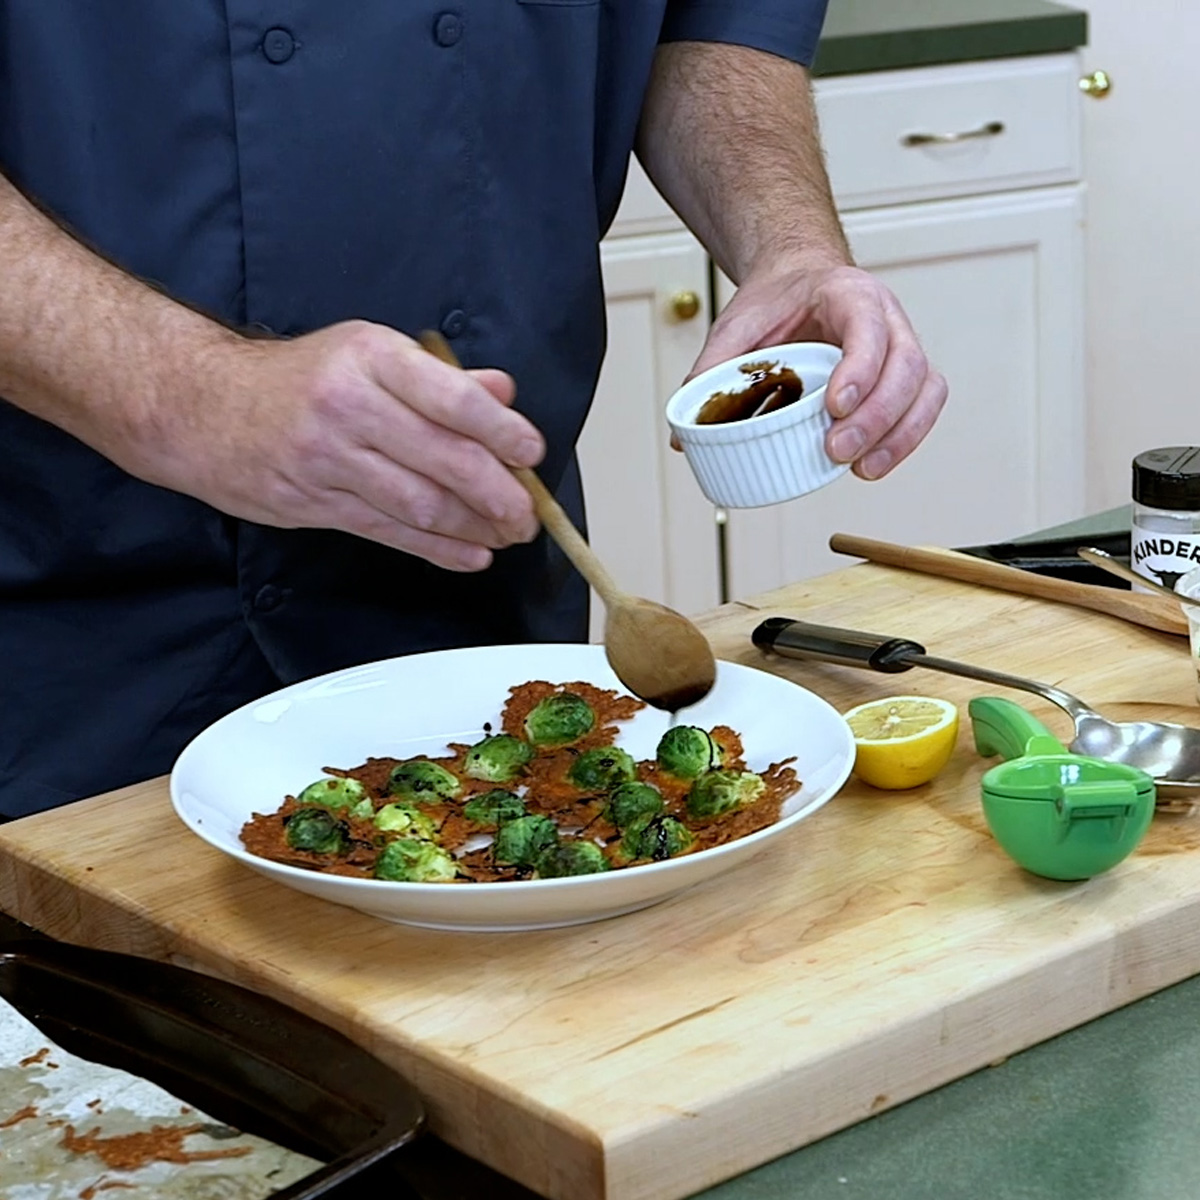
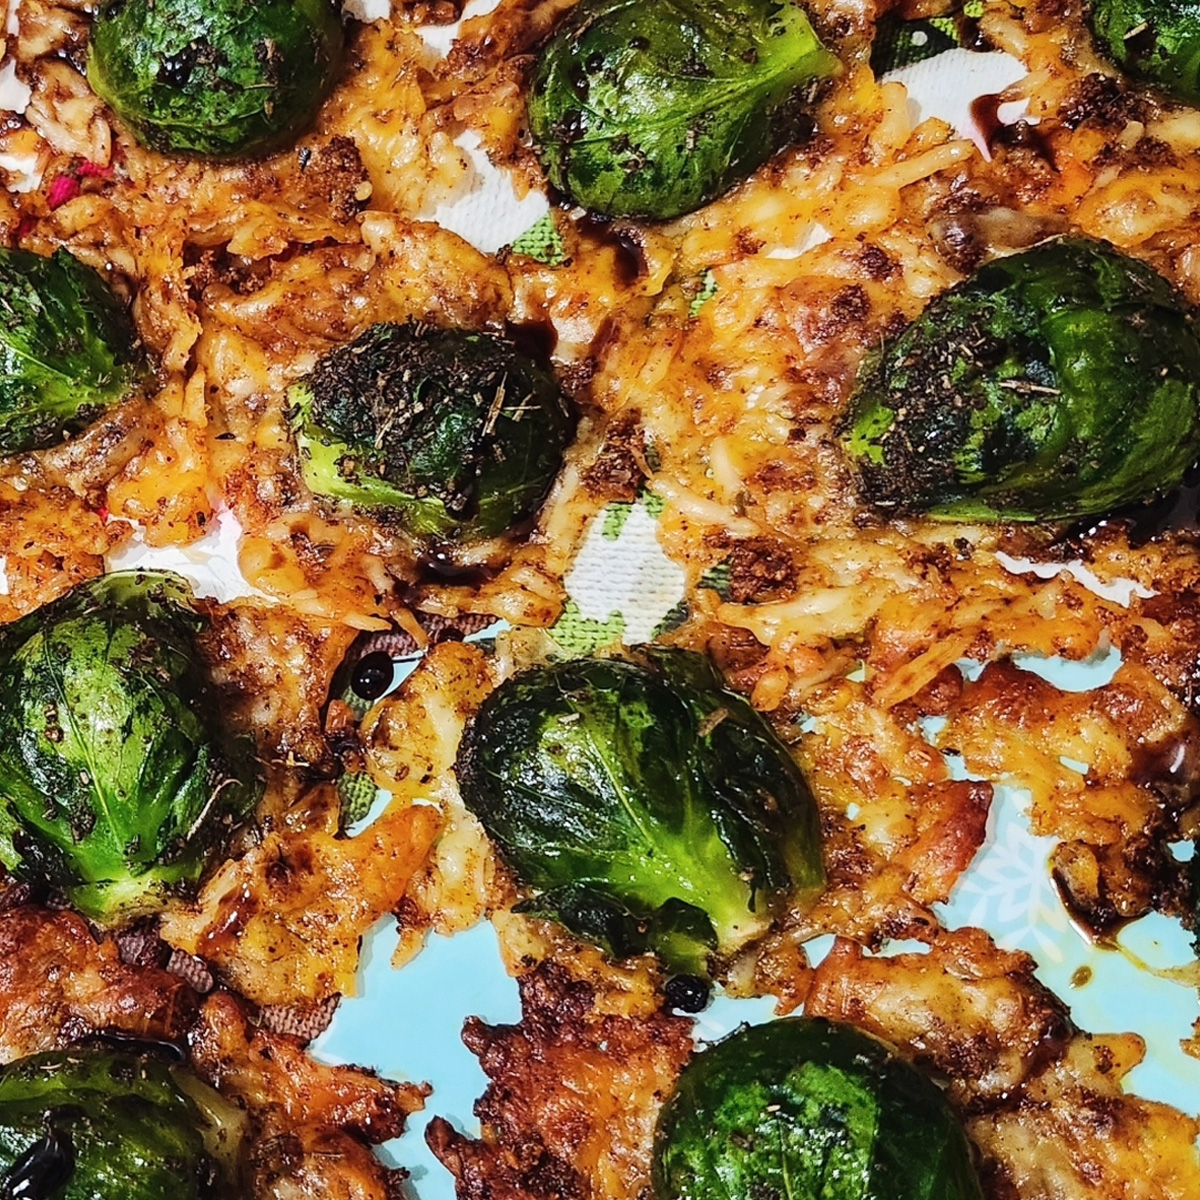
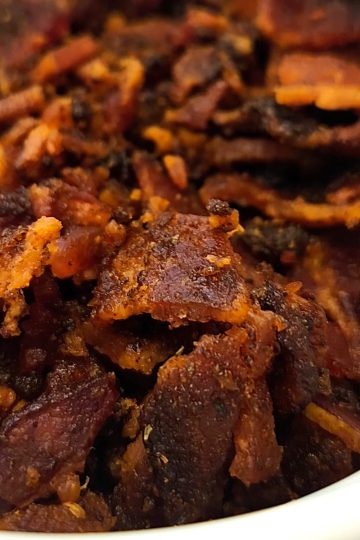
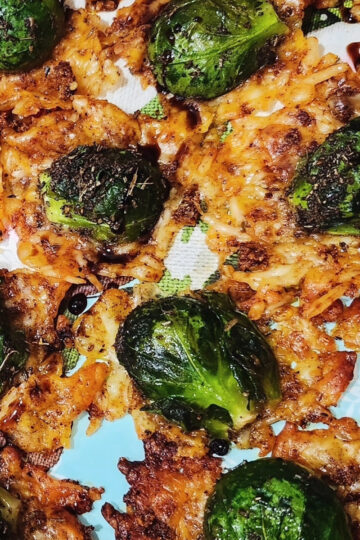
- Brussels Sprouts Cheese Crisps - Steve Cooks Stuff
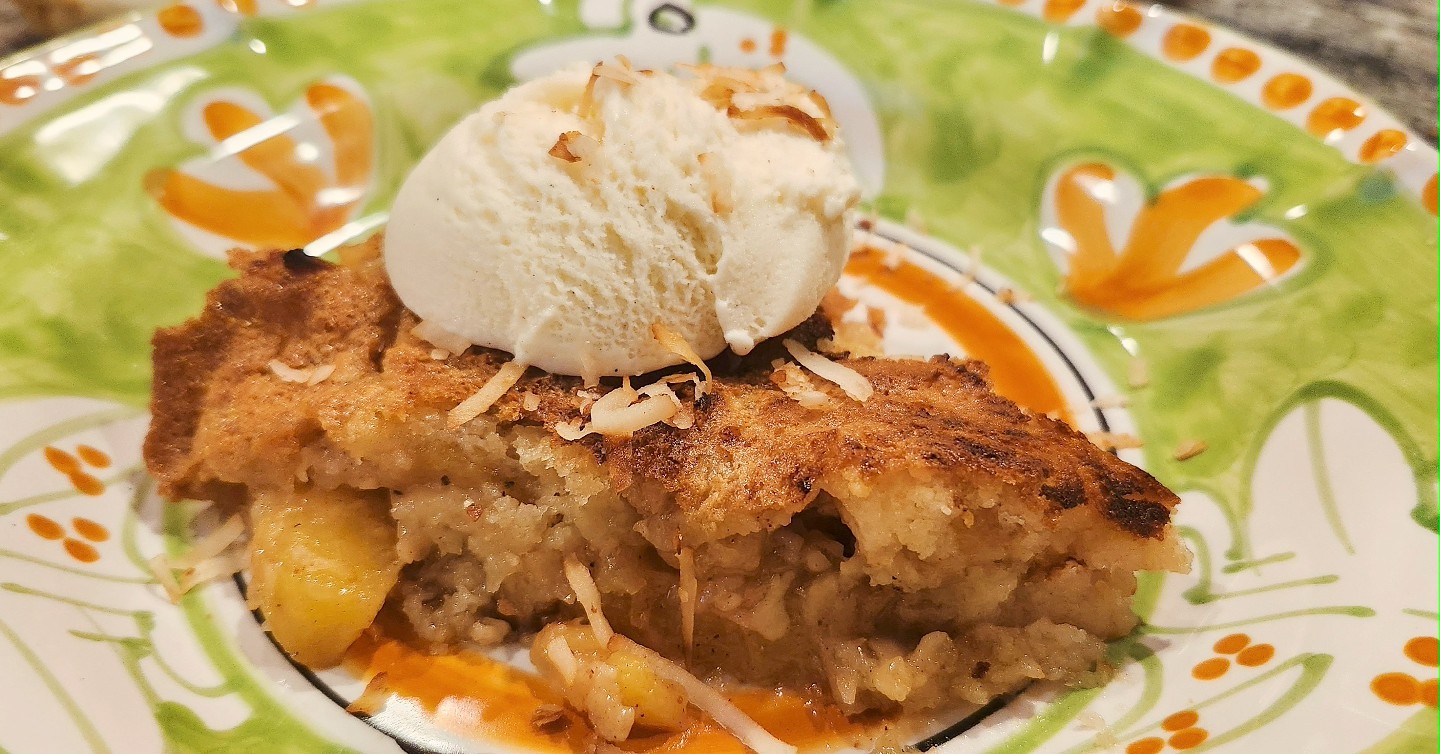
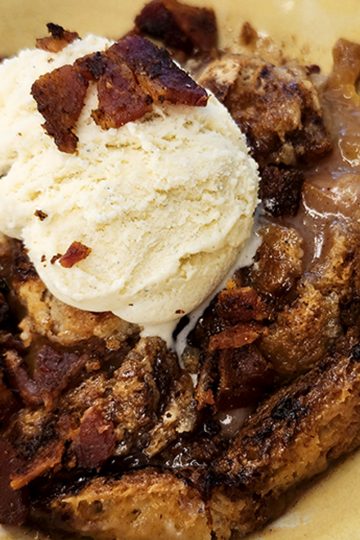
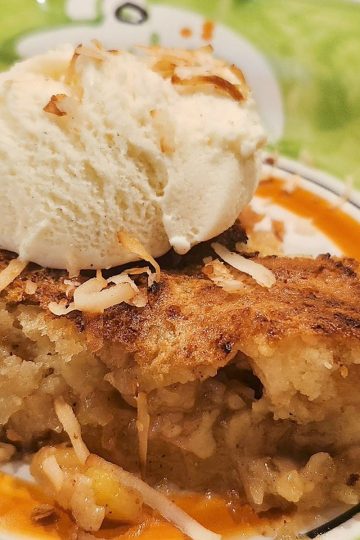
- Piña Colada Cobbler - Steve Cooks Stuff
Avocado Crema Vinaigrette Coleslaw
Ingredients
Equipment
Method
- In a large mixing bowl, combine the cabbage, carrots, purple onion, jalapeño, and ¼ cup cilantro. Gently toss until evenly mixed.
- In a food processor, add the avocado, apple cider vinegar, juice of one lime, sour cream, and garlic.
- Pulse on puree mode until smooth and fully combined. Stop occasionally to scrape down the sides so everything blends evenly.
- If the mixture is too thick, add a little more lime juice, a small amount at a time, until you reach your desired consistency.
- Tip: Aim for a texture that’s creamy but still pourable—not too thick, not too runny.
- Slowly pour the avocado crema into the coleslaw mixture, adding a little at a time while gently tossing. Continue until everything is evenly coated.
- Cover and refrigerate until ready to serve. Give it one final toss before serving.